The official WordPress repository for themes and plugins uses the subversion system to manage the different versions and updates. It is pretty similar to using Git, with a little difference. Uploading your themes or plugins is easy once you configure your terminal or app.
I love Homebrew for its simplicity and ease of installation of all terminal tools. It is one of the web developers’ best friends 😉
We will first see how to install and use SVN from the terminal, as it is the most no-fluff way to get the job done. If you don’t like the terminal way, scroll to the SmartSVN tutorial section.
We are going to read about
Installing SVN on OSX using Homebrew
This option is for the terminal app. I am using the default app. You can use the same process for any other terminal app. There will be no difference. I am using Homebrew, which I have installed on my computer. If you do not have a package manager or dependency manager installed, please do so before working on this or install an SVN app instead.
brew install svnRun the command to install the SVN facility on your terminal. Homebrew would automatically check for all the dependencies.

You can see in the screenshot above that I have already installed the tool using Homebrew, and it just checked for dependencies and the latest version. After this process is complete, you can use the feature with svn command.
The WordPress plugin developers’ handbook has a straightforward guide for SVN and the necessary commands. Please check that to know about the commands. Once ready, you can add all the folders and commit them with a message.
The tool will ask you for the username and password once during your first commit to the remote repository. Later, you can keep using the ci -m 'some message' command to push the updates.
As this blog post is about just installing and configuring the tool, I am not going into details of the WordPress repository submission process. Please let me know if you need a tutorial in the comments section.
Installing SmartSVN App
The SmartSVN app has an excellent user interface and is a good option for users who dislike using a terminal. I found that apps also act like FTP tools. Like when you have a slower connection and have chances of getting files missed, they keep the connection alive longer or try better than the terminal solutions.
1. Download the SmartSVN App on your computer
I am using an M1 Macbook Air, So I downloaded and installed the ARM 64 version. They have Windows and Intel chip versions as well. Choose the one that matches with your computer configuration.
After the download is complete, install the app and open it.
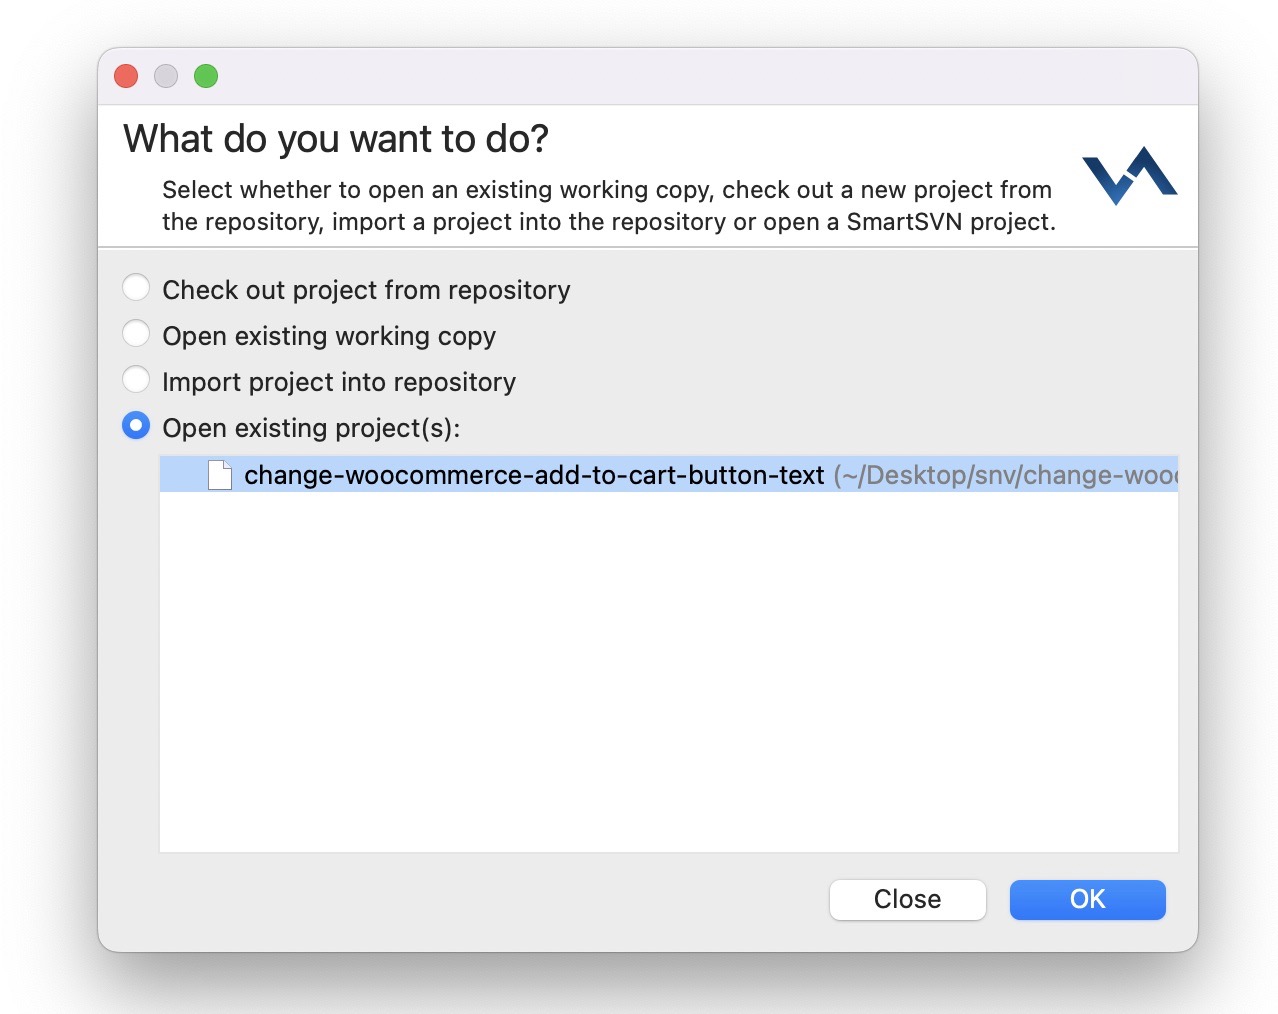
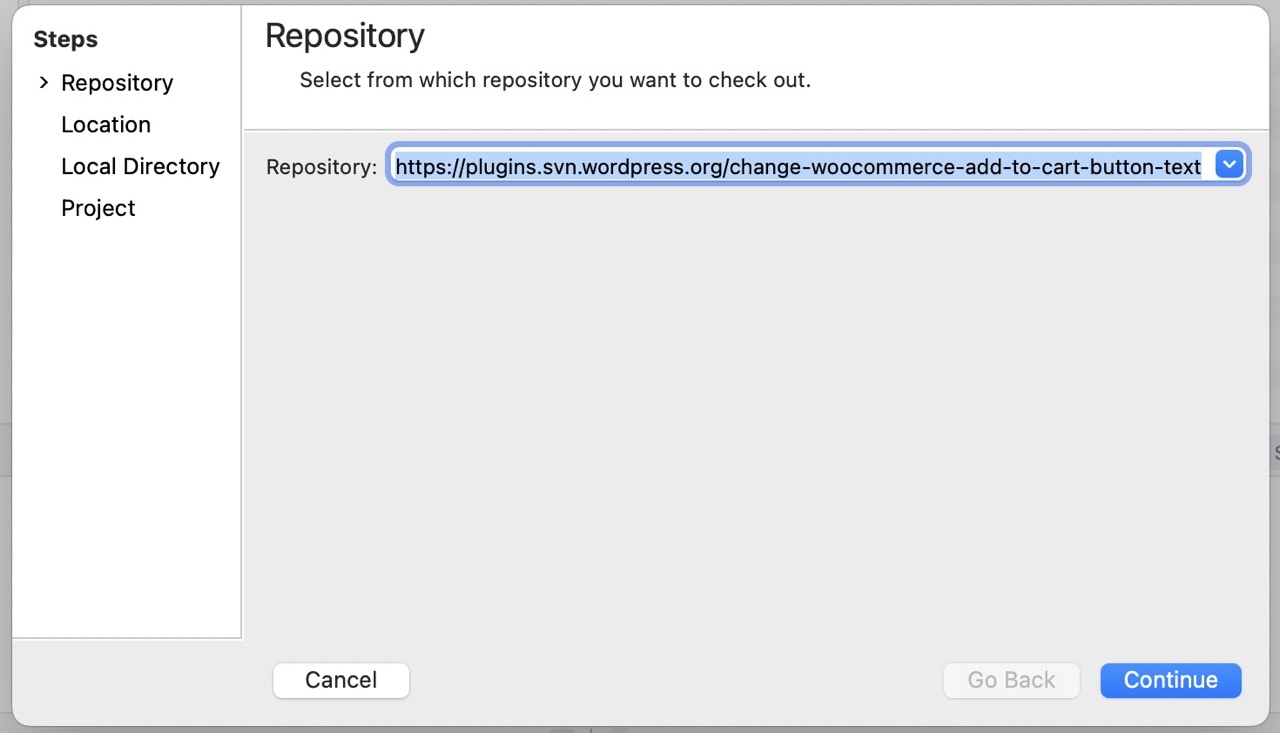
2. Connect to the Remote Repository
If you’re working with a new WordPress theme or WordPress plugin, you will find the SVN repository link in the WordPress team’s confirmation email. You can find the link in the development tab if you want to connect to an existing repository. It should look something like ****.svn.wordpress.org/****
3. Select the Folder on Your Computer
The system will ask you for a place to download the SVN repository files. You can also point out if you want to download the entire repository or a folder. I selected “recursive” as I needed the entire folder on my local computer.
4. Make Changes to the Plugin As You Like
This step is self-explanatory, as you may already know how to open and edit plugin files. Do as you like in different files.
Please remember- you should not use SVN or treat SVN like you treat Git. When you’re using Git, you can make a commit for every single change you make in every single file to keep track of it. But you should commit only to SVN when you’re ready to release.
This is why all the developers I know use a separate Git repository to maintain a robust version control system and collaborate with multiple developers. They usually do not use graphical tools as they use Grunt or Gulp to commit to WordPress repo automatically when a new tag is created in Git.
Here is an excellent tutorial about WordPress Theme Automation With Gulp
5. Commit the Changes
When you’re done with all the changes, open up the SmartSVN app again and click on the commit button. It will ask you again if you want to commit to a specific folder or the entire repository. Select as you please.
6. Add your username and password for authentication
It will ask for a username and password. Use the same username and password you use to log in to WordPress.org. The process should be complete, and you can see the new changes on the WordPress.org SVN via a web browser.
And you’re done!
NB: I might have missed some steps, but you can always follow the default settings and read between the lines to be safe. I take no responsibility for any losses that occurred while following this tutorial. This is just something I discovered while doing something for myself. Follow this at your own risk!
I always appreciate comments with suggestions, constructive feedback, and sharing even better resources. So, please feel free to share anything relevant in the comment section below. I will try to update the blog post based on the latest available information.
Leave a Reply
You must be logged in to post a comment.